
How to Edit Bracketed Real Estate Photos
Bracketed real estate photos give you more exposure information than a single image. The editing goal is to use that information carefully: brighten the room, control the windows, keep color believable, and export a clean listing-ready result without making the image look over-processed.
Quick answer: Edit bracketed real estate photos by keeping each room's exposures together, aligning the frames, building a natural HDR base, using darker brackets for window detail only where needed, then adjusting brightness, color, highlights, shadows, and export.
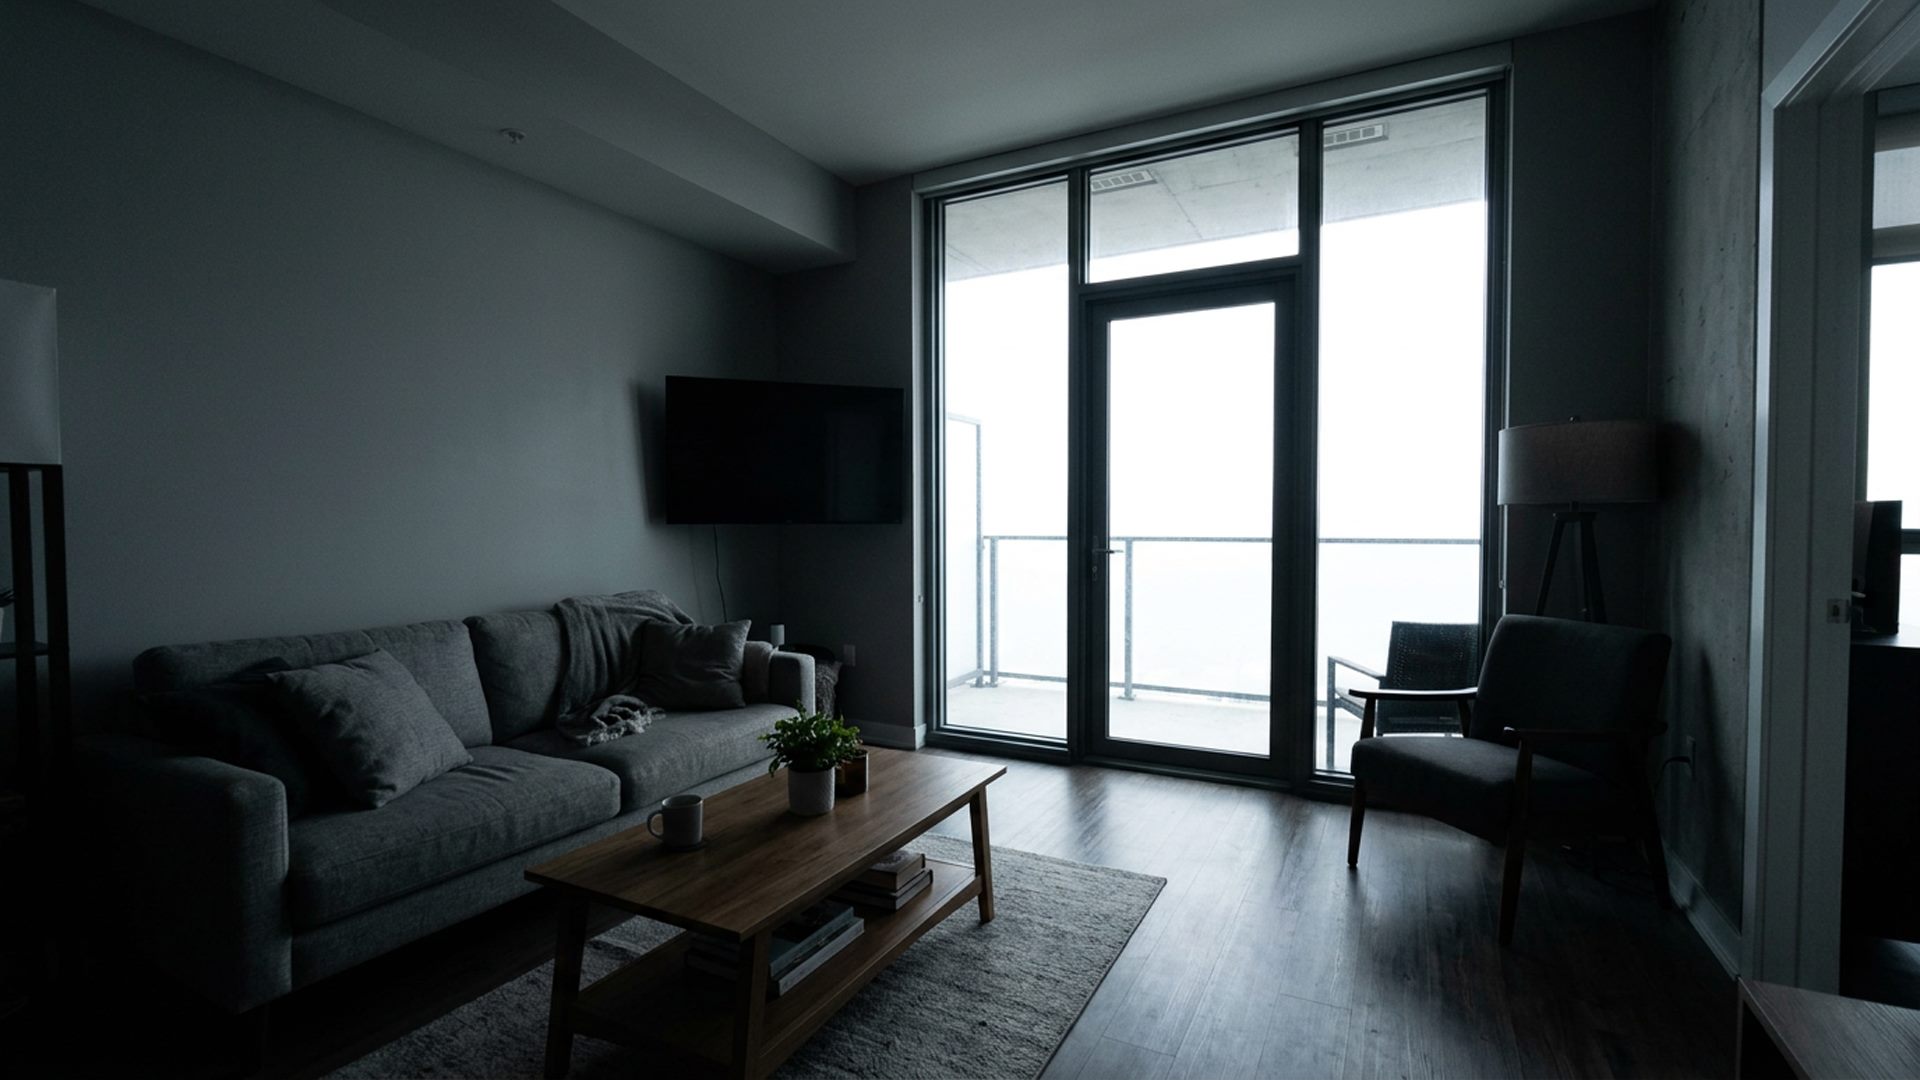
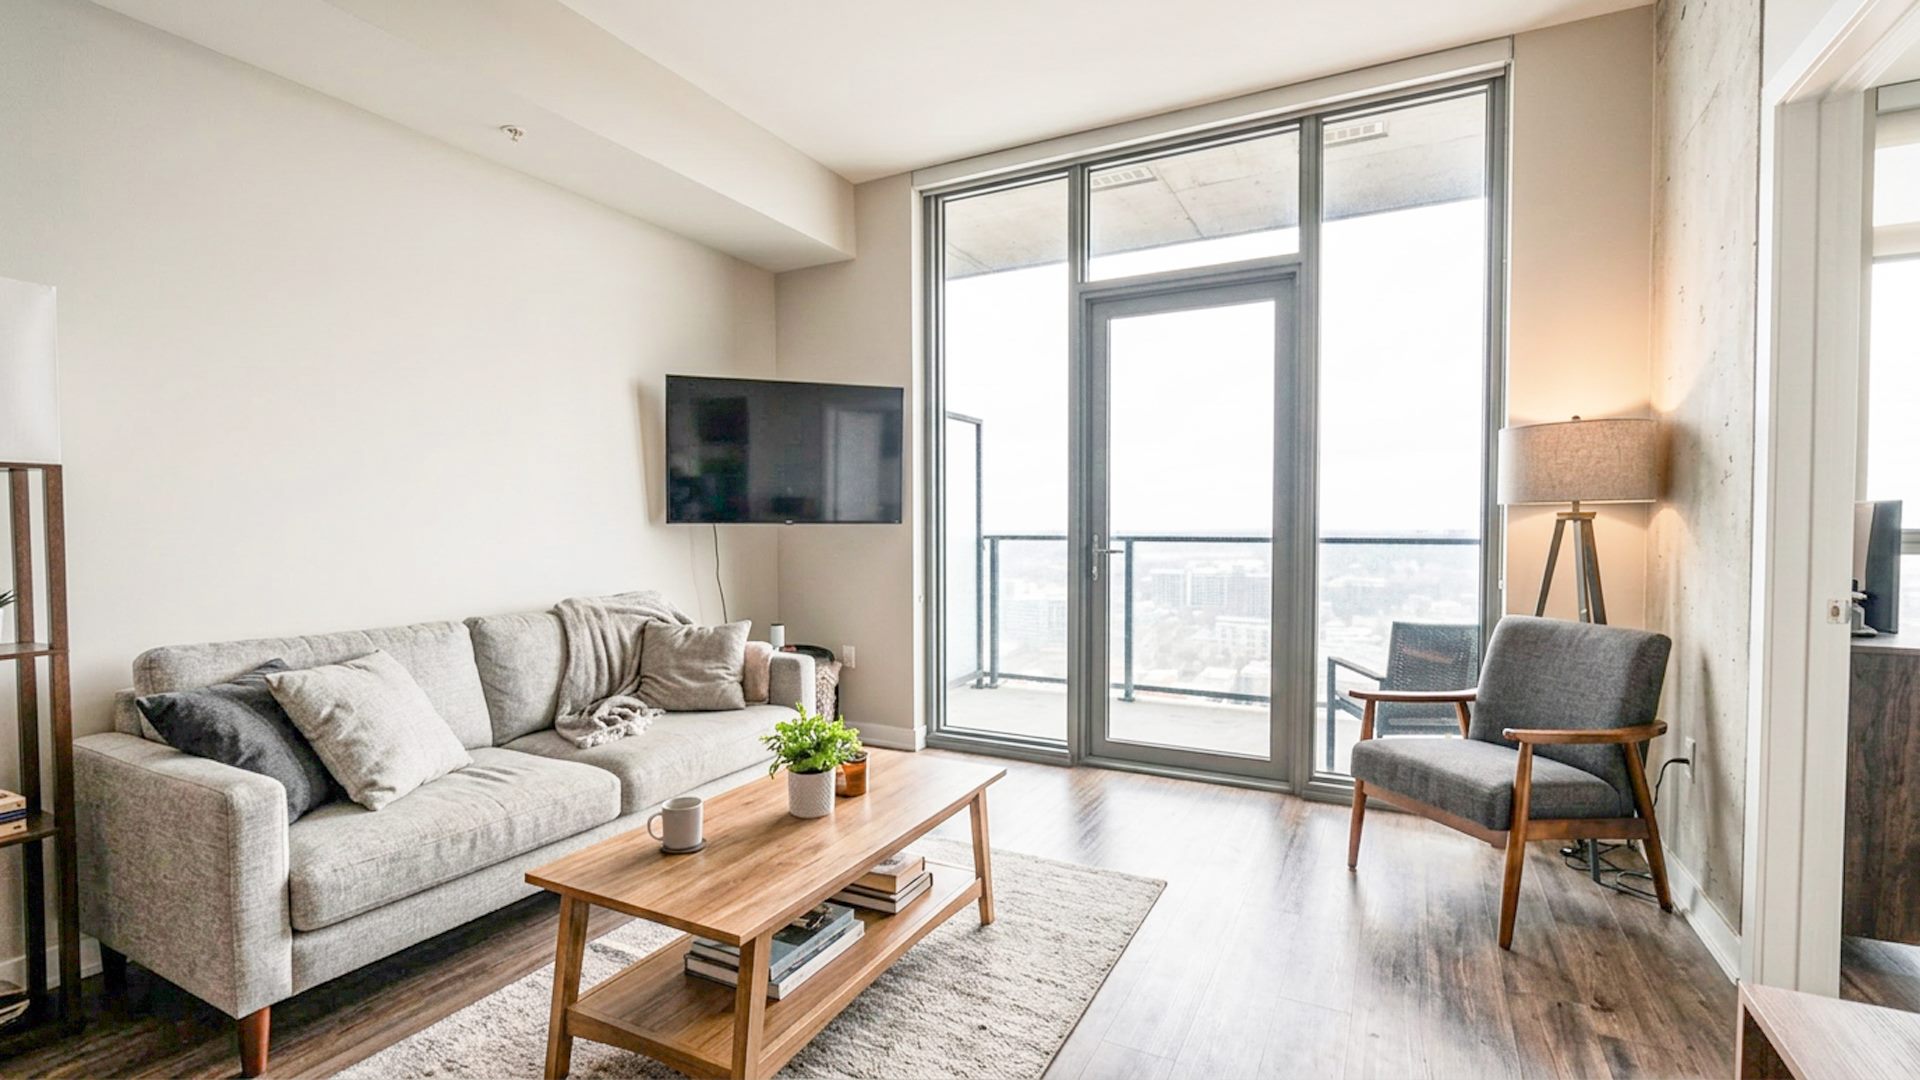
Start with a clean bracket set
Most real estate HDR workflows begin at capture. For each room, keep the bracketed exposures together and avoid mixing scenes in the same folder. A common set includes a darker exposure for windows, a middle exposure for overall balance, and a brighter exposure for interior shadow detail.
If the camera moves between frames, alignment becomes harder. A tripod is ideal, but even handheld brackets can work better when the framing is steady and the exposure set is complete.
What each bracket is usually for
- Darker exposure: protects bright windows, exterior views, balcony detail, and strong highlight areas.
- Middle exposure: gives the software a balanced reference for the room and color.
- Brighter exposure: helps lift interior shadows, furniture detail, corners, and darker flooring.
The final image should not simply use the brightest frame everywhere. It should borrow the useful parts of each exposure and blend them into one believable room photo.
Build a natural HDR base first
The first edit should usually create a believable base image before heavy styling. That means aligning the bracketed frames, blending useful exposure information, and avoiding the crunchy contrast that makes some HDR images look artificial. The room should feel bright, but not flat. Windows should be controlled, but not pasted in.
This natural base matters because every later adjustment sits on top of it. If the base has harsh contrast, bad alignment, strange color, or fake-looking windows, final sliders can only do so much.
Handle windows separately when the view matters
Bright windows are one of the main reasons real estate photographers shoot brackets. If the outside view adds value to the listing, use the darker exposure only where it helps. A soft window mask usually looks more natural than a hard replacement because frames, curtains, blinds, and reflections need a gentle transition.
For a deeper look at this part of the workflow, read Window Recovery for Real Estate Photography and How to Fix Blown-Out Windows in Real Estate Photos.
Common bracket editing mistakes
- Over-flattening the room: lifting every shadow too far can remove depth and make the photo look washed out.
- Over-recovering windows: a fully detailed exterior can look fake if it is darker or sharper than the room lighting supports.
- Ignoring alignment: small shifts between brackets can create ghosting around window frames, furniture edges, and wall lines.
- Using one preset for every room: different rooms need different levels of highlight control, warmth, and contrast.
Make final adjustments after the merge
After the bracketed blend is built, review the image like a deliverable listing photo. Adjust exposure, highlights, shadows, warmth, vibrance, clarity, and color only as much as the scene needs. The final image should help buyers understand the room without making the property look misleading.
A good final pass usually checks three things: whether the room feels naturally bright, whether window detail helps rather than distracts, and whether the color still matches the materials in the property.
Where Lumaro fits
Lumaro is built for this bracketed workflow on Windows. You select a folder of real estate exposures, enhance locally, optionally use Window Pull for difficult glass areas, review the result, make final adjustments, and export. It is meant to reduce the repetitive assembly work before the creative review stage.
Because Lumaro starts with a folder-based workflow, it fits the way many property photographers already organize bracketed scenes. The app handles alignment and enhancement locally, then leaves the result open for review and adjustment instead of hiding everything behind a single automatic output.
Learn more about the broader tool category in Real Estate Image Editing Software, Real Estate HDR Software, HDR Merge Tool for Property Photographers, and PNG Sequence Bracketed HDR Workflow and Bracketing Real Estate Photography. If you are comparing purchase options, also see Fast Real Estate Photo Editing Software, Affordable Real Estate Photo Editing Software, and Real Estate Window Pull Software.
Try Lumaro free