
Real Estate HDR Software
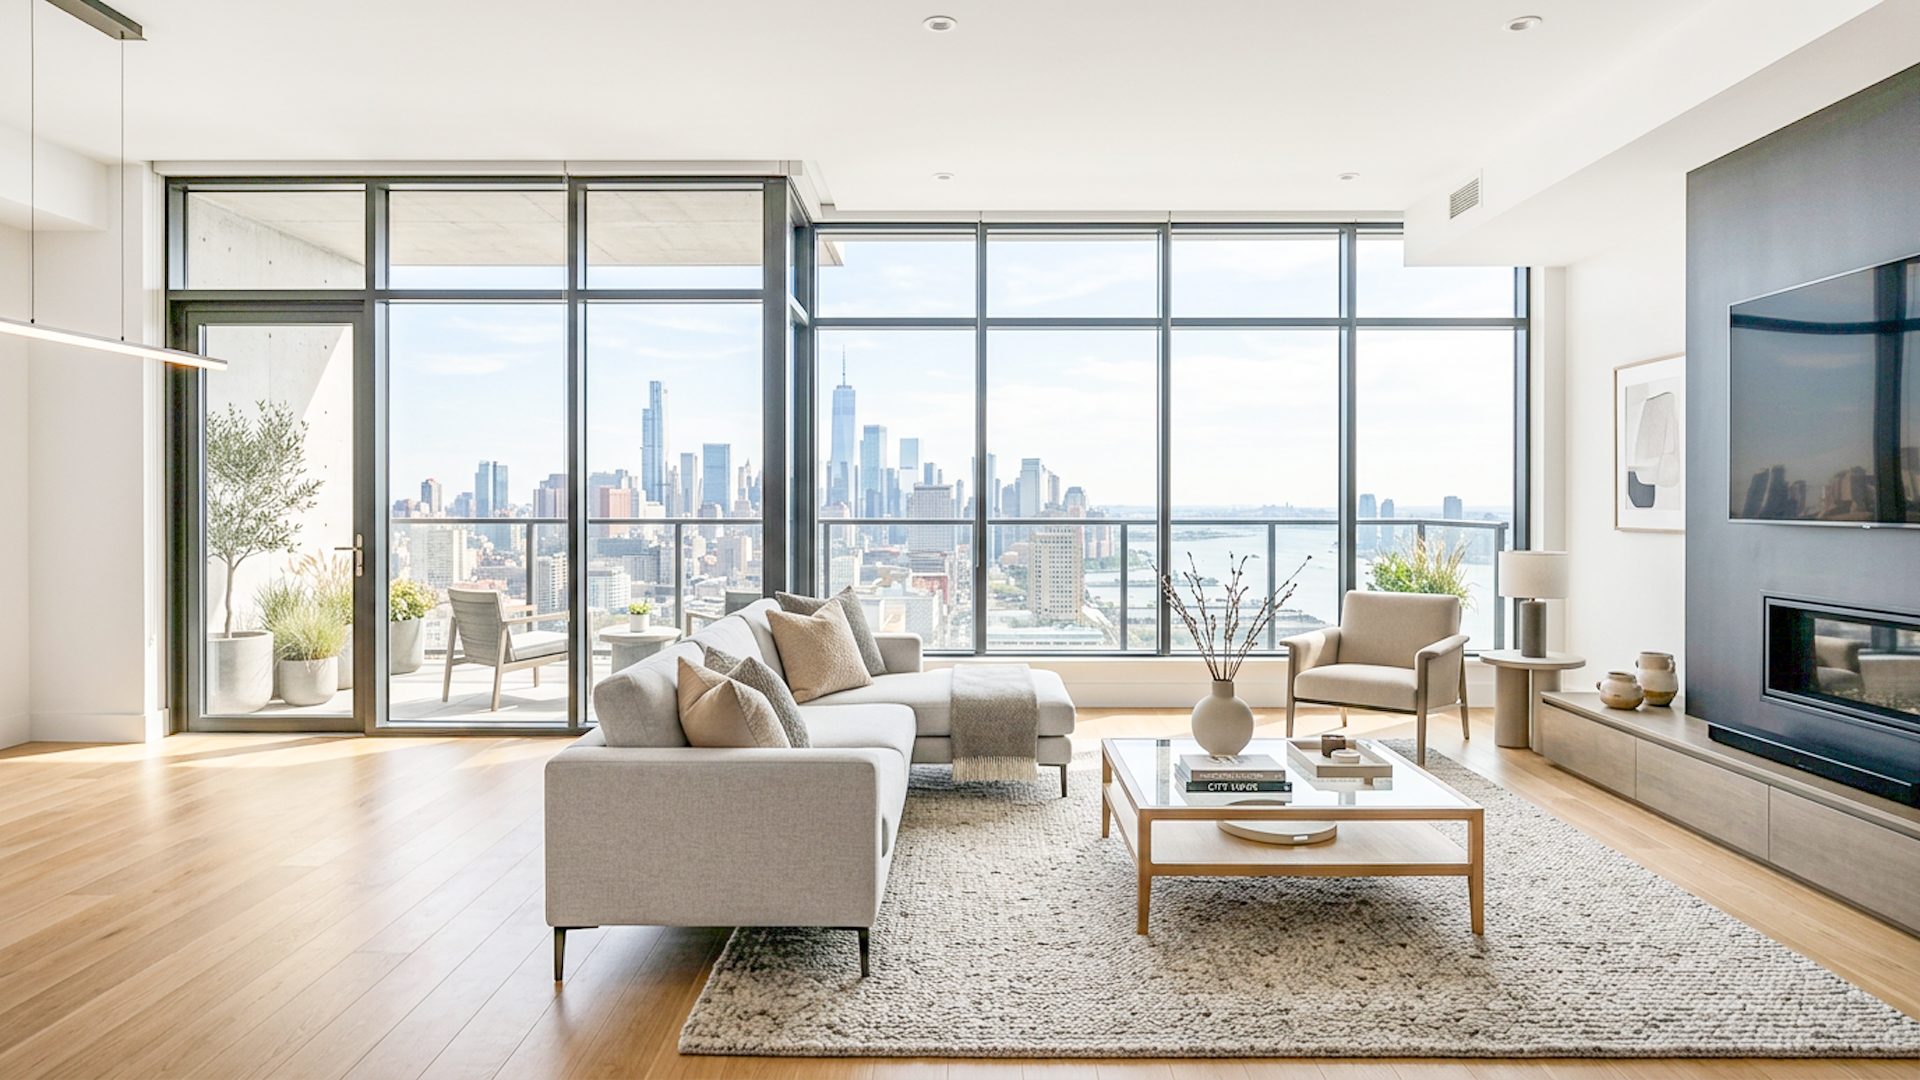
Real estate HDR software helps property photographers combine bracketed exposures into a balanced image that shows interior detail, controls bright windows, and still feels natural for a listing. The goal is not a dramatic HDR effect. The goal is a cleaner, believable property image.
Why HDR matters in property photography
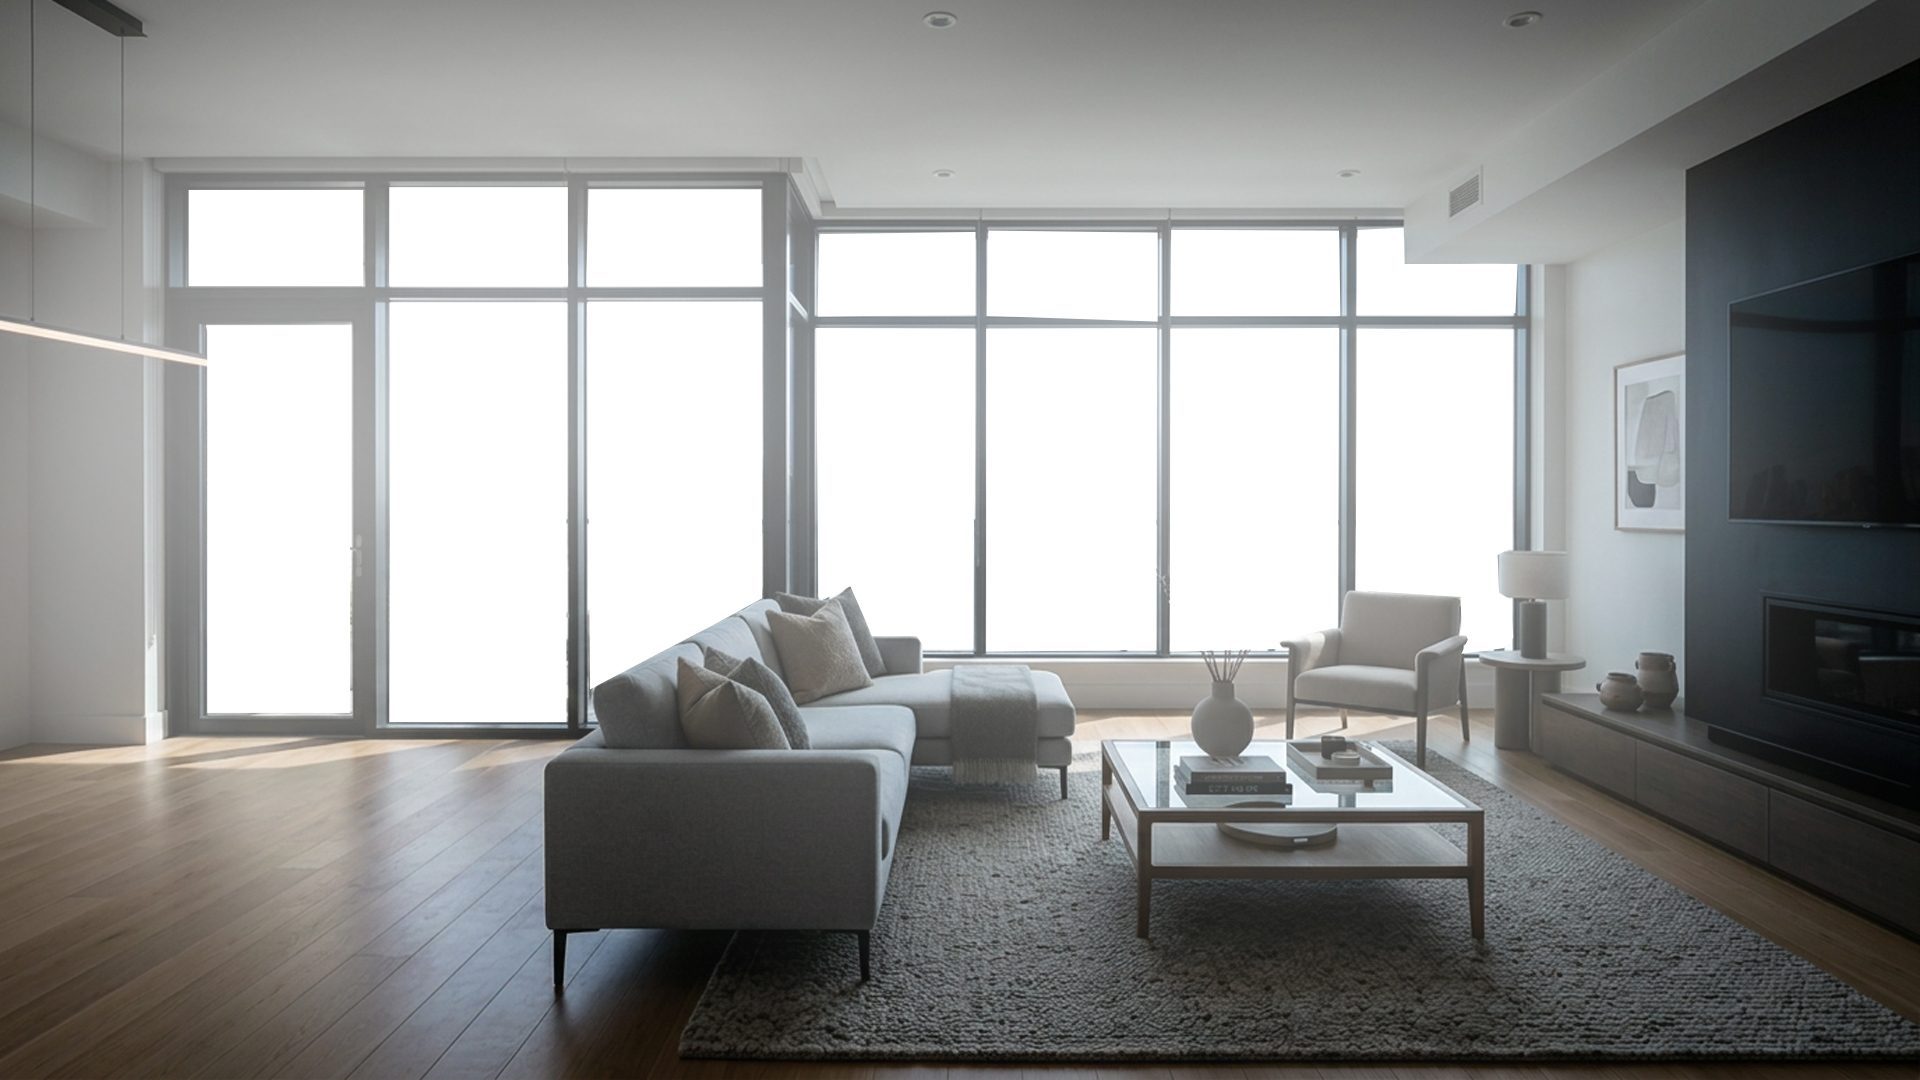
Rooms often contain extreme contrast: dark corners, bright windows, reflective surfaces, and mixed lighting. A single exposure can make the room look too dark or blow out the view outside. Bracketed photography captures multiple exposures so the final image has more usable information.
If you want the full editing sequence, start with How to Edit Bracketed Real Estate Photos.
What good real estate HDR software should do
A focused HDR tool should align the images, merge exposures naturally, reduce the amount of manual setup, and leave room for final judgment. The goal is not to create an over-processed look. The goal is a cleaner starting point that still feels believable for a listing.
- Support common bracket images such as JPG, JPEG, and PNG.
- Handle alignment so handheld or slight tripod movement is less painful.
- Balance window brightness and interior shadow detail.
- Provide simple final adjustment controls.
- Keep client property images private with a local workflow when possible.
Natural HDR vs over-processed HDR
Real estate HDR should not make every shadow disappear or every window look like a separate photo. A natural result keeps some depth in the room, preserves realistic color, and avoids heavy halos around windows, furniture, and wall edges. It should help buyers understand the property without making the space feel artificial.
This is especially important for rooms with glass doors, balcony views, glossy floors, mirrors, or mixed daylight and interior lighting. Those scenes benefit from exposure detail, but they also reveal bad blending quickly.
HDR software vs general photo editors
General editors are powerful, but many real estate photographers repeat the same setup dozens of times: group brackets, align exposures, blend a base result, control windows, then make finishing adjustments. Real estate HDR software should remove as much of that repeated setup as possible while still giving the editor control over the final image.
What to check before choosing a tool
Look for a workflow that matches the way you shoot. If you capture bracketed interiors, the software should make bracket folders easy to process. If windows are a recurring issue, it should give you a way to recover or soften window areas without creating harsh composites. If client privacy matters, local processing is also worth considering.
- Input workflow: does it work with folders of bracketed property photos?
- Alignment: can it handle slight movement between exposures?
- Window handling: can it control bright glass without obvious cutout edges?
- Review controls: can you inspect and adjust the result before export?
- Local workflow: can core processing happen on your computer?
Where Lumaro fits
Lumaro is built around this specific workflow: select a bracket folder, enhance locally, optionally mark windows for recovery, review the result, and fine-tune the final image. It is designed for property image enhancement rather than general-purpose photo editing.
The app creates a Natural HDR Base first, then produces a Premium Launch Result for review. If Window Pull is enabled, selected window areas can blend detail from a darker bracket into the natural base with a feathered mask. After enhancement, full-image and window-only adjustments help refine the final result before export.
Related guides: free HDR real estate editing software trial, real estate image editing software, how to edit bracketed real estate photos, fix blown-out windows, HDR merge tools for property photographers, PNG sequence bracketed HDR, bracketing real estate photography, and natural property listing edits.
Try Lumaro free