
Real Estate Image Editing Software
Real estate image editing software should help photographers turn bracketed property photos into clean, natural, listing-ready images without making rooms look fake. The best tools reduce repeated setup work while still leaving room for human review before delivery.
What real estate image editors actually need
Property image editing is different from portrait retouching or creative compositing. The goal is usually a clean, believable listing image: bright interiors, controlled highlights, straightforward color, visible room detail, and no distracting over-processing. A good tool should help with the repeated technical work before the final human review.
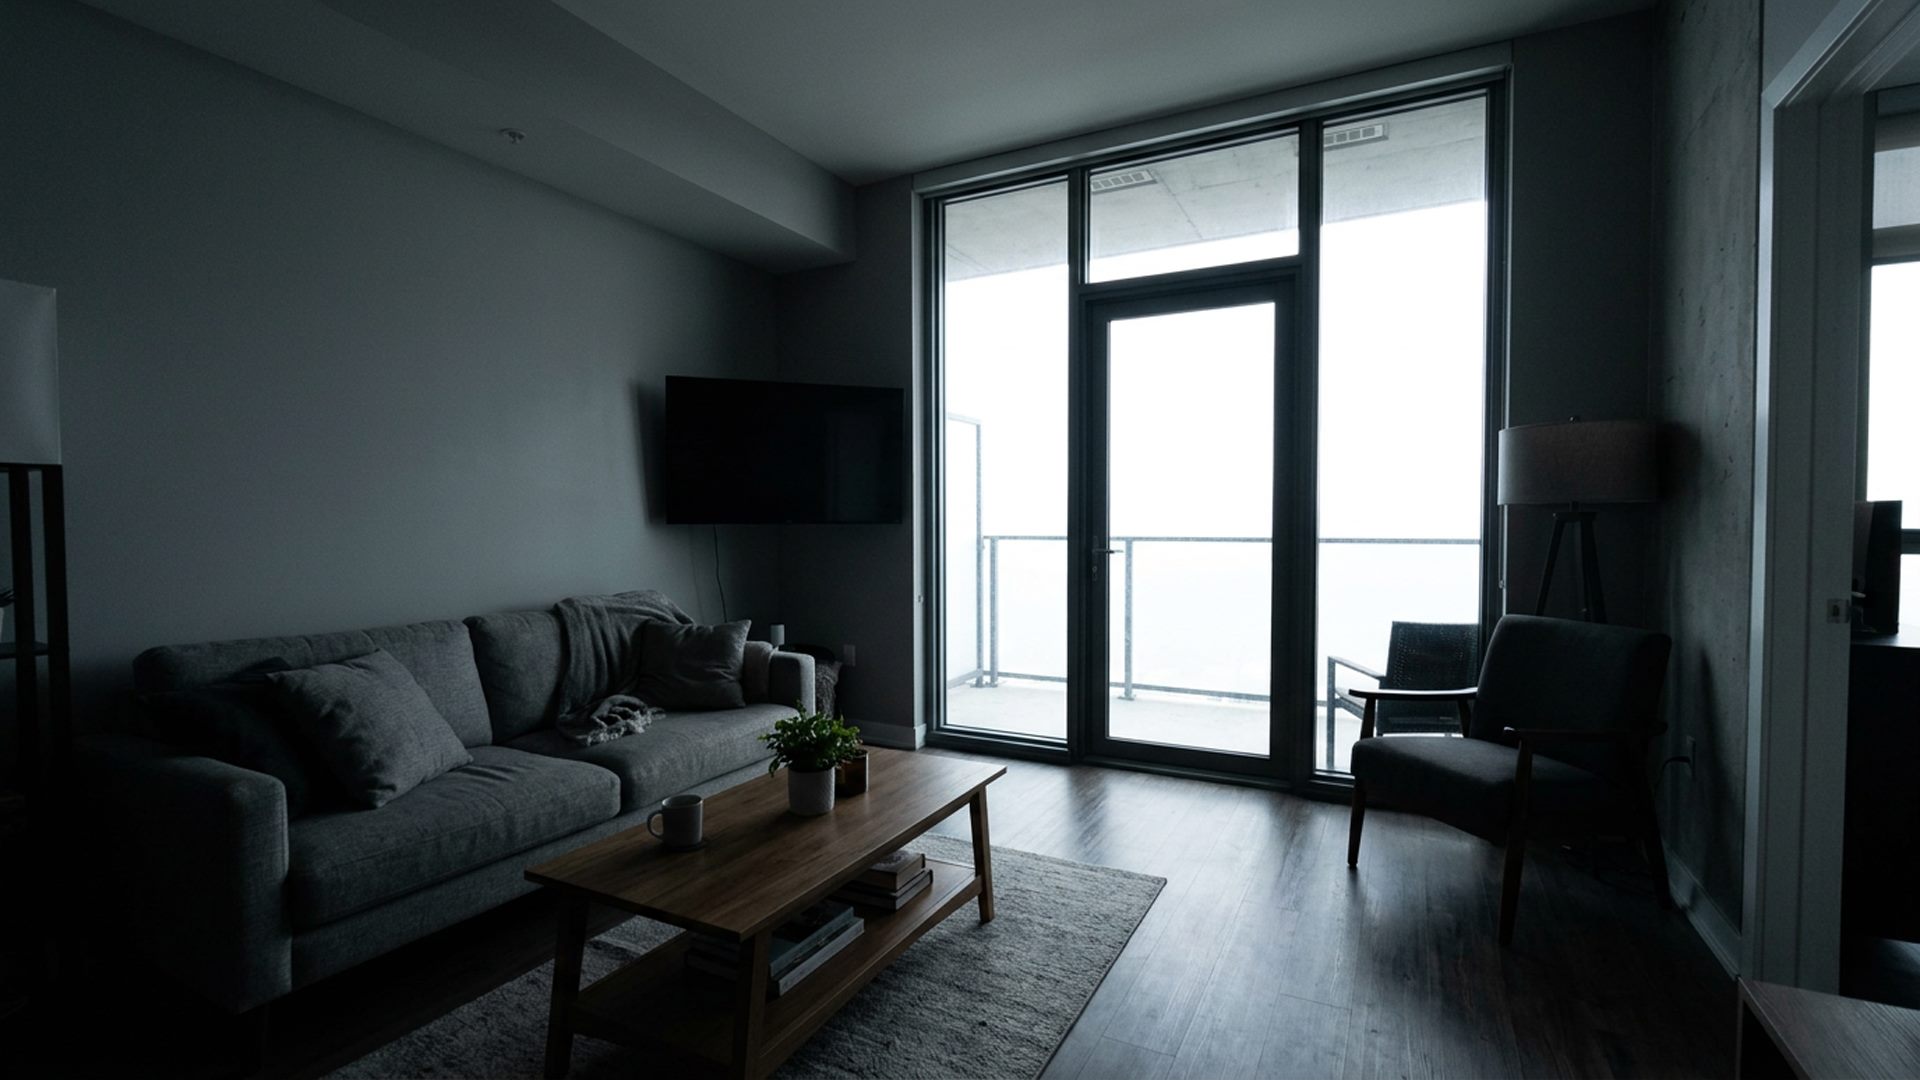
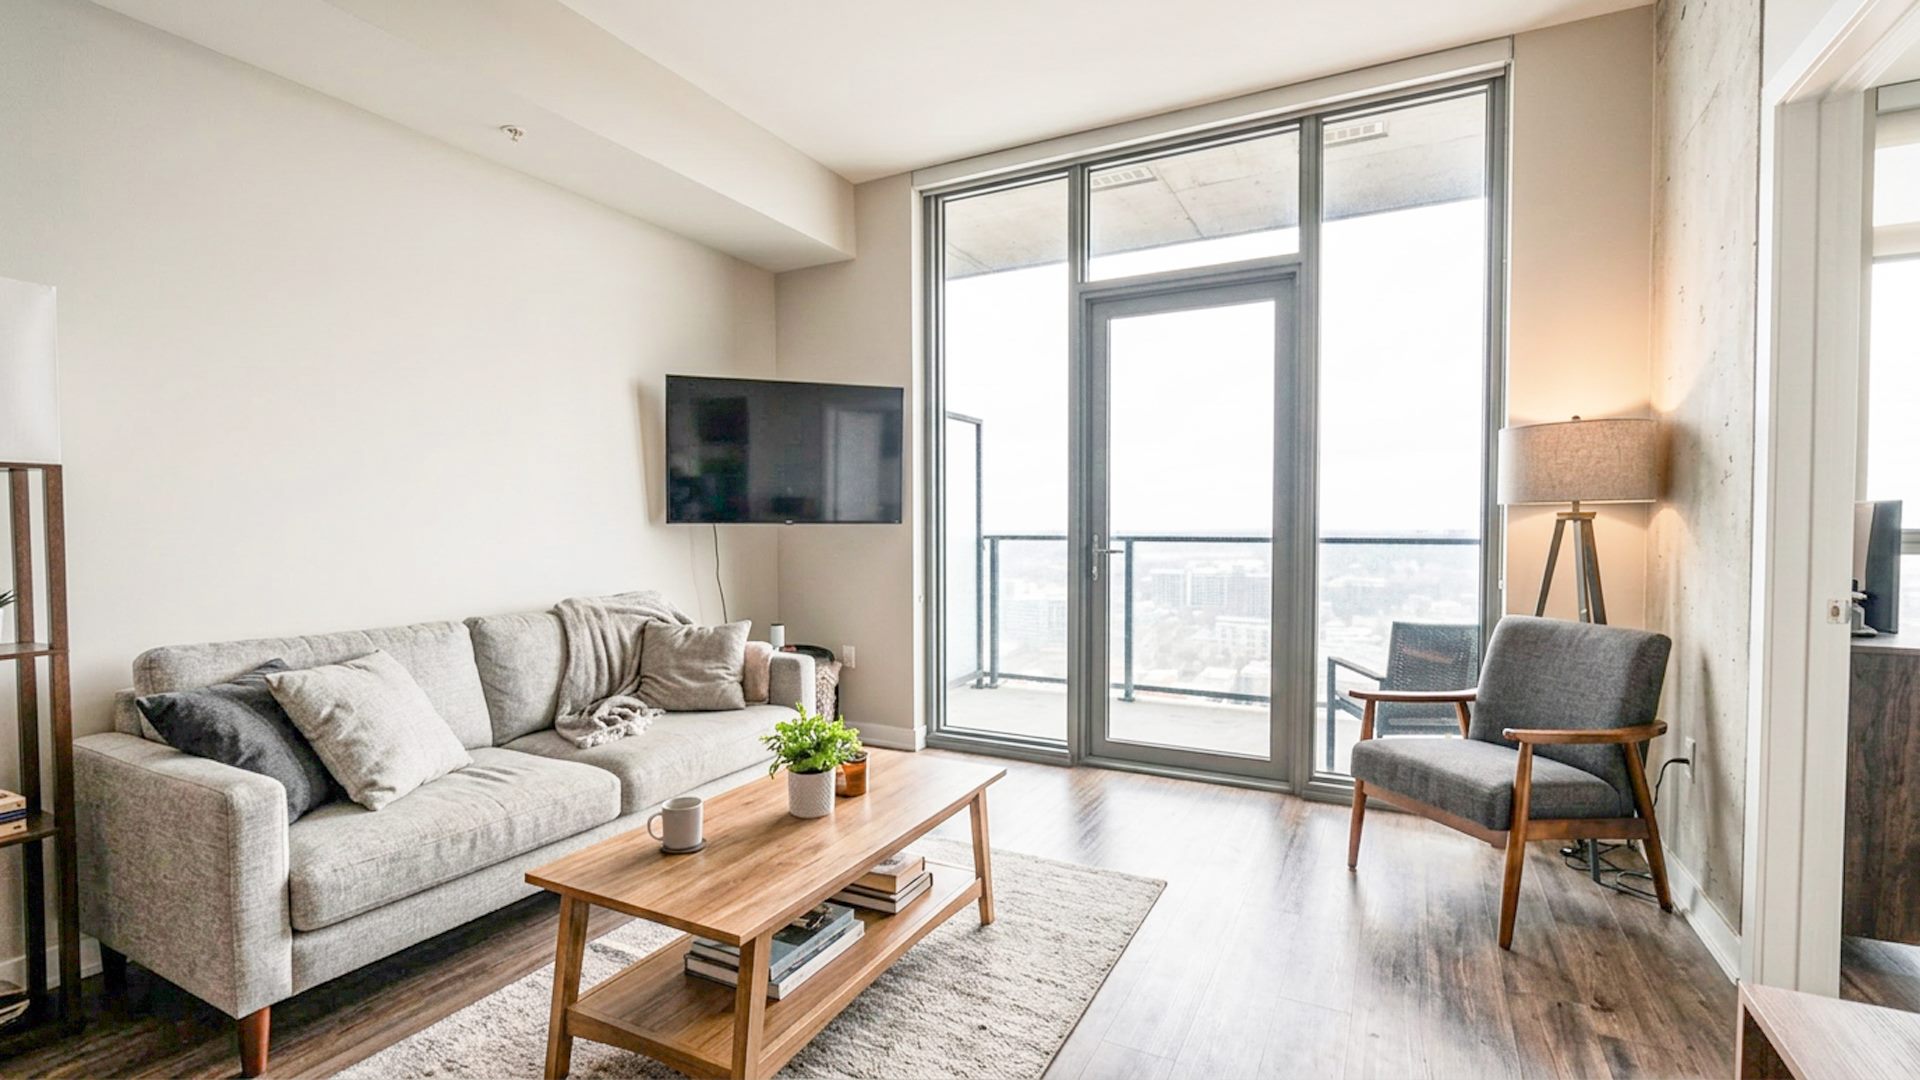
Common editing problems include dark interiors, blown-out windows, mixed color temperatures, uneven shadows, noisy underexposed areas, and bracket sets that need alignment before they can be blended. Real estate image editing software is most useful when it handles those practical problems in a focused workflow.
What to look for in real estate image editing software
- Bracket support: use multiple exposures from the same scene instead of relying on one difficult frame.
- Image alignment: line up handheld or slightly shifted brackets before merging.
- Natural HDR: balance interior light without crunchy contrast or heavy-looking tone mapping.
- Window control: recover useful window detail softly when the exterior view matters.
- Local processing: keep client property images on the computer during the core enhancement workflow.
- Final adjustments: tune exposure, highlights, shadows, color, clarity, and window areas before export.
Why bracketed property photos need a focused workflow
Real estate interiors often have more dynamic range than a single exposure can handle. A bright window may need a darker frame, while the room itself may need a brighter one. Bracketed image editing gives the software more information, but it also creates extra work: choosing the scene folder, aligning frames, merging exposures, controlling windows, checking the result, and exporting a final image.
A focused workflow keeps those steps in one place. Instead of manually building every blend from scratch, the editor can start from a cleaner HDR base, then make judgment-based adjustments where the scene needs them.
How Lumaro approaches real estate image editing
Lumaro is built around a simple Windows desktop workflow: select a bracket folder, optionally mark windows, enhance locally, review the Natural HDR Base and Premium Launch Result, adjust the finish, then export. The app is designed for real estate scenes rather than general-purpose photo editing.
The optional Window Pull workflow lets the user manually select window areas so Lumaro can blend cleaner detail from a darker exposure using a soft mask. This helps preserve exterior or glass detail while keeping the interior naturally lit. After enhancement, window-only adjustments can use the same mask so the user can tune those areas without changing the whole room.
When Lumaro is a good fit
- You shoot bracketed real estate interiors and want a faster starting point.
- You care about natural-looking rooms instead of exaggerated HDR effects.
- You want optional manual control for difficult windows.
- You prefer local processing for the core enhancement workflow.
- You still want to review and adjust the final result before exporting.
When you may still need another editor
Lumaro is not meant to replace every feature in a full creative editing suite. Advanced object removal, sky replacement, detailed retouching, compositing, perspective correction, and full catalog management may still belong in another tool. Lumaro's role is to make the bracketed real estate enhancement step faster and more focused.
Where Lumaro fits
Lumaro is designed for bracketed real estate image enhancement on Windows. It focuses on selecting a scene folder, building a natural HDR base, optionally using Window Pull, reviewing the result, adjusting the finish, and exporting. It is not meant to replace every feature in a general editor; it is meant to reduce the repeated setup work in real estate image editing.
Explore related guides for property photo editing software, real estate HDR software, how to edit bracketed real estate photos, window pull software, fixing blown-out windows, fast real estate photo editing software, affordable real estate photo editing software, natural property listing edits, and brighter room edits.
Try Lumaro free